


If you're setting up your Retro Photography Kit for iPhone for the first time, this guide will help you get your Retro Bar connected quickly and understand how it works in everyday shooting. From Bluetooth pairing to light indicators and button customization, here’s everything you need to know to get started.
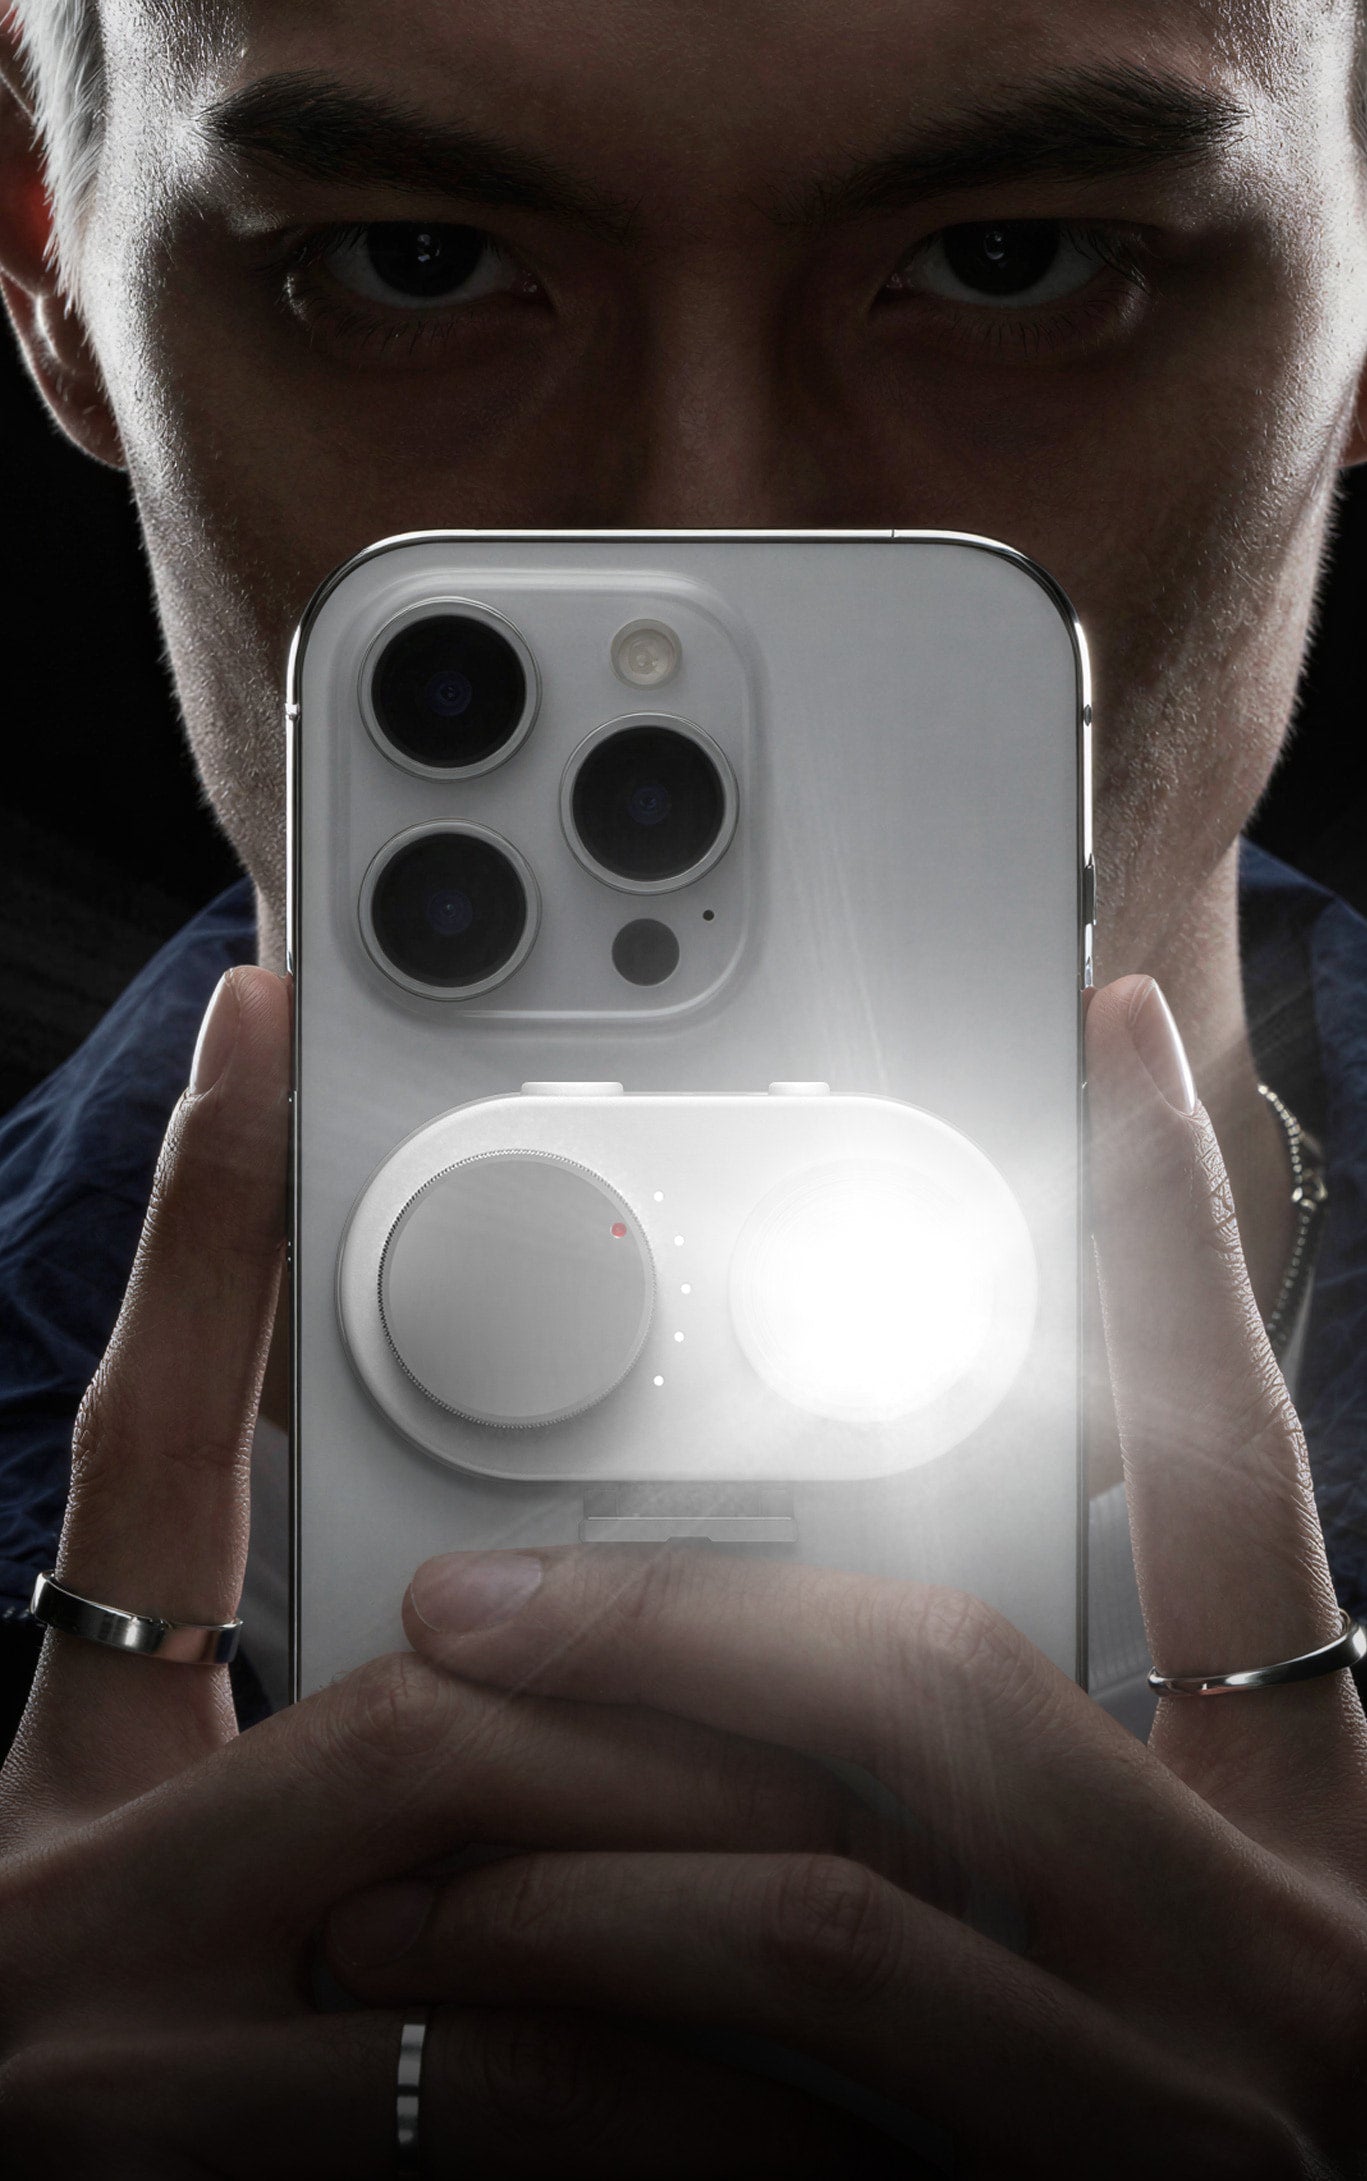
Meet the Retro Bar

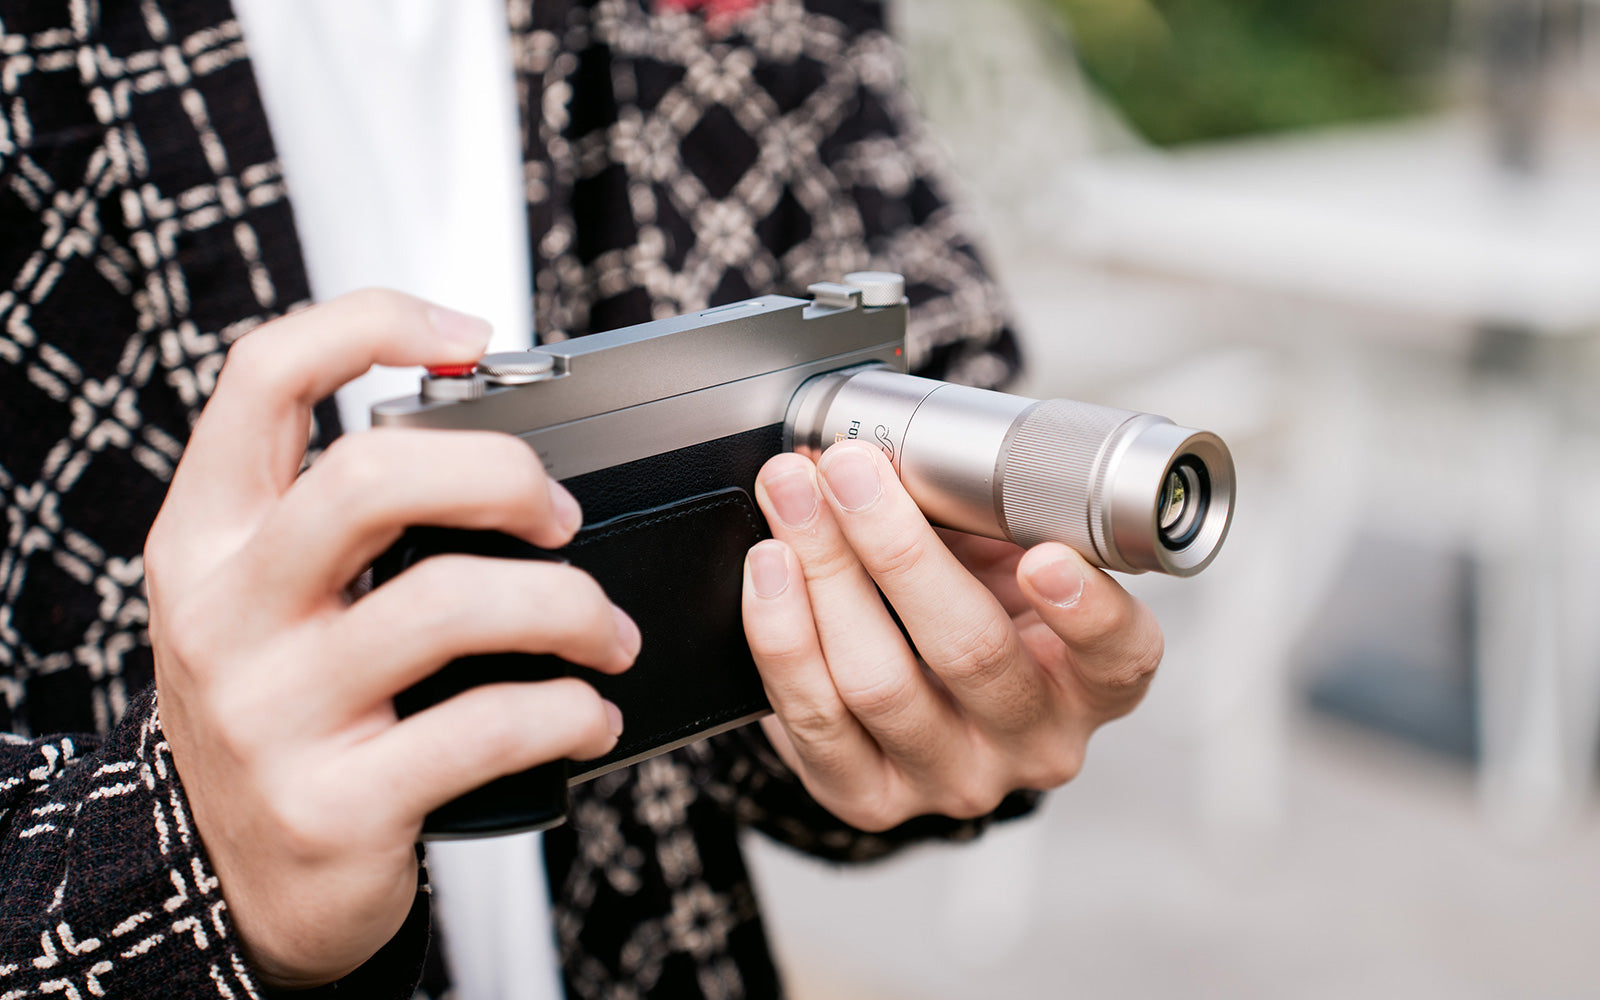
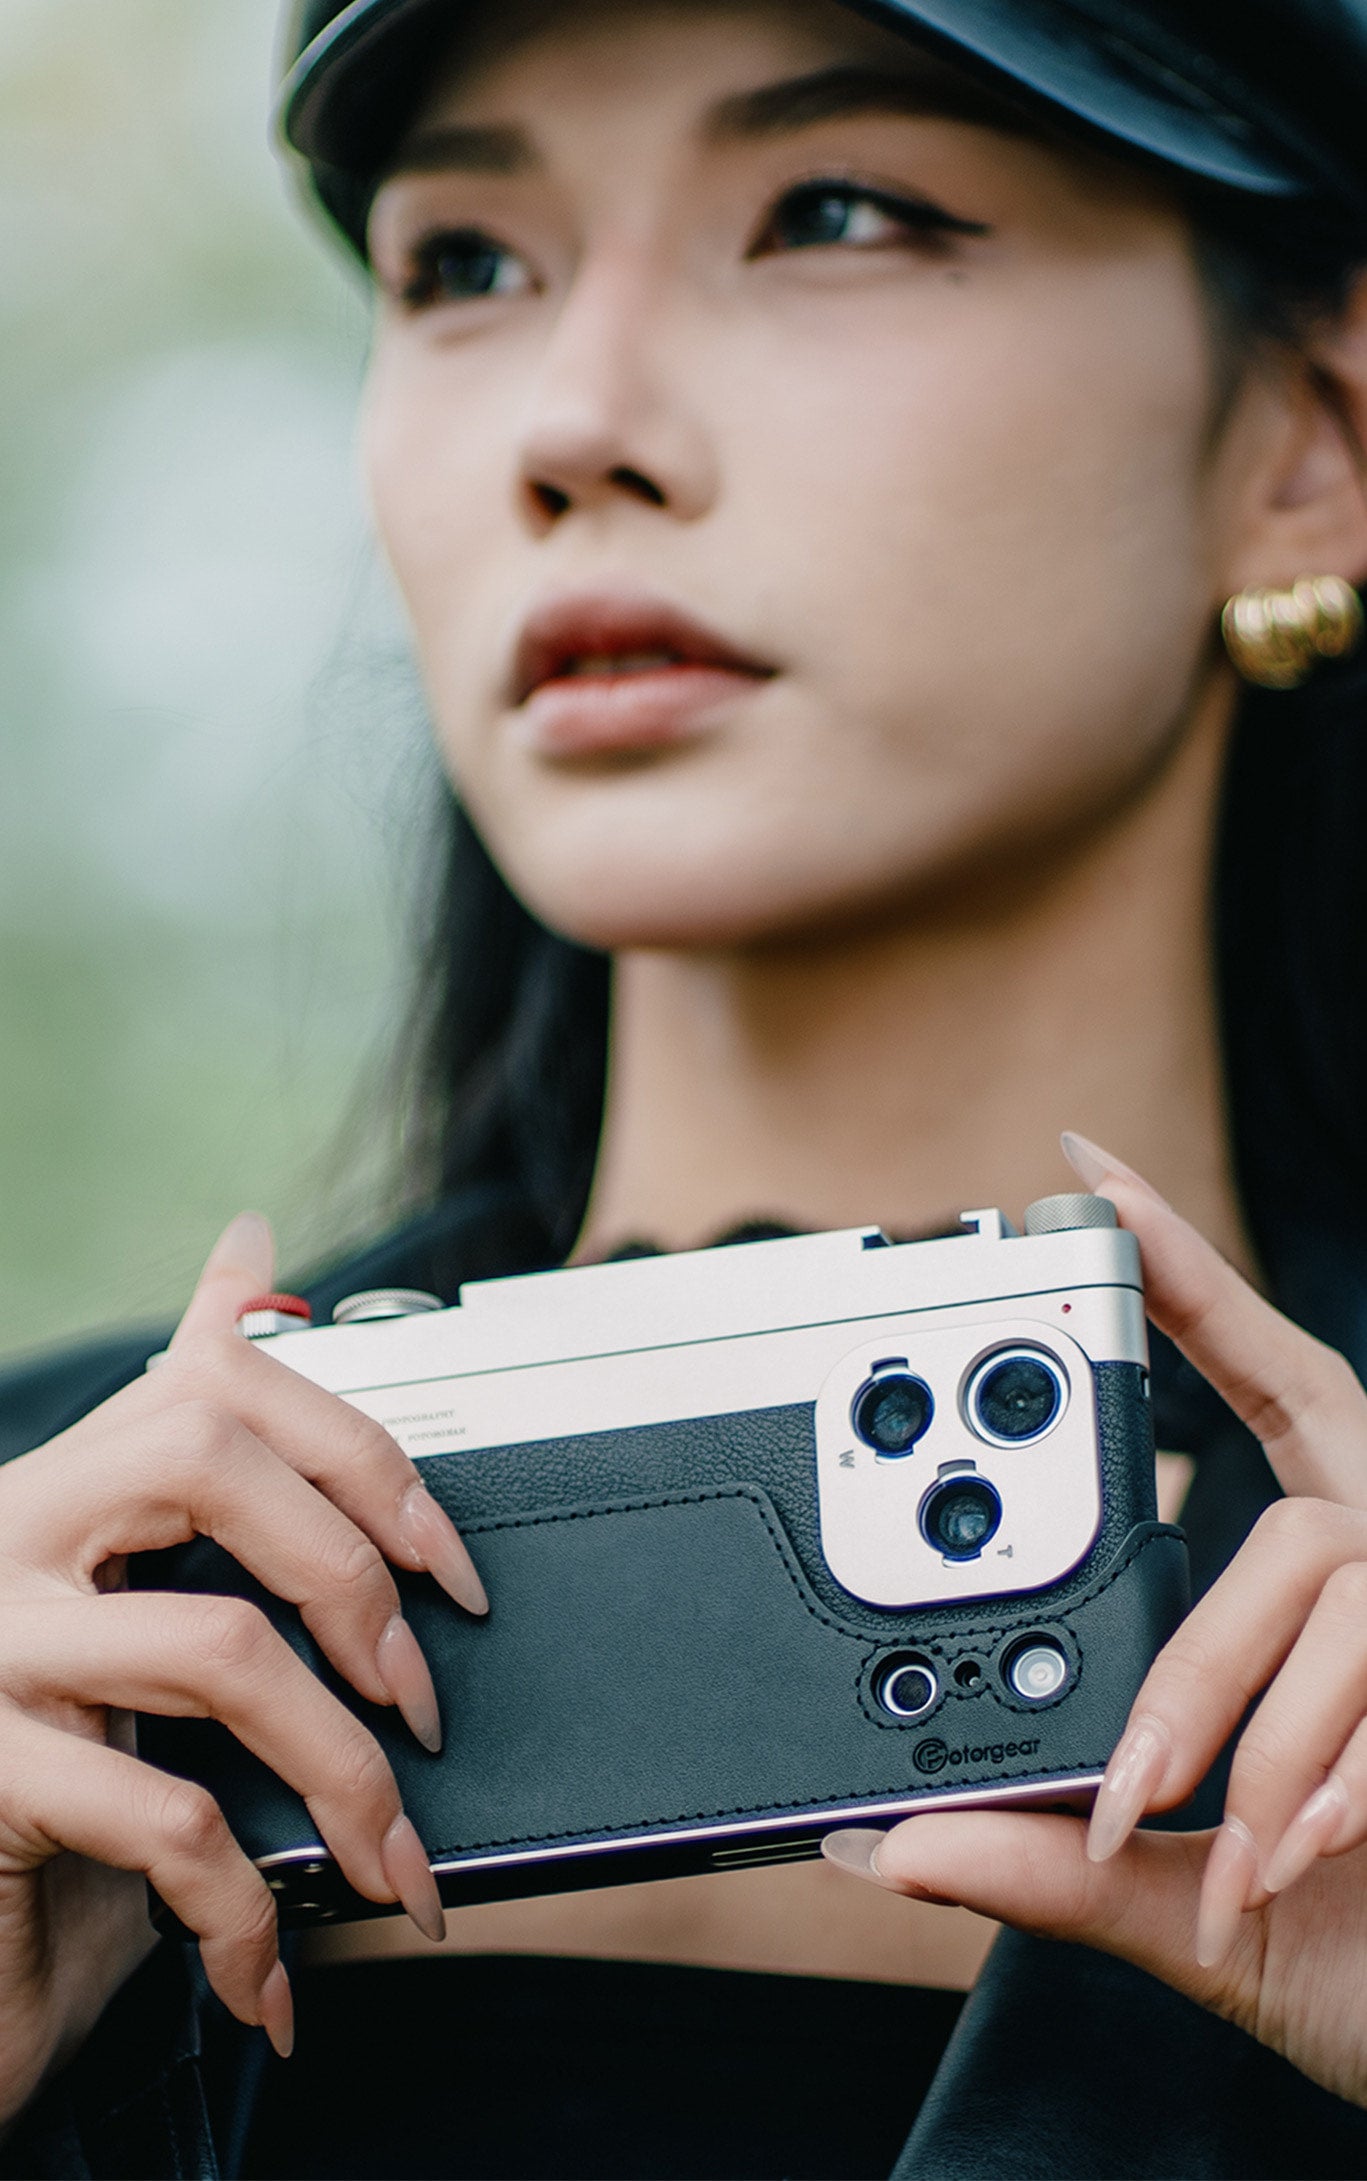
The Retro Bar is the control module of the Retro Photography Kit for iPhone. It’s the part with the physical buttons that gives your iPhone a more tactile, camera-inspired shooting experience.
Built with a Bluetooth module and internal battery, the Retro Bar connects to your iPhone and works with the Fotorgear app to unlock a smoother, more intuitive way to shoot.
Whether you prefer using the Fotorgear app or the native iPhone camera, the Retro Bar is designed to make mobile photography feel faster, more physical, and more engaging.
Compatible Models
The Retro Photography Kit for iPhone is currently available for the following six models:
| Compatible Models | Shop Now |
|
For iPhone 15 series |
|
For iPhone 16 series |
|
For iPhone 17 series |
It’s important to note that each Retro Bar is only compatible with its matching case model.
For example, an iPhone 15 Pro Retro Bar cannot be used with an iPhone 16 Pro case.
How to Connect the Retro Bar via Bluetooth
Before shipping, each Retro Bar goes through basic charging and quality control testing. That means it should normally arrive with battery power and be ready for setup.
Step 1: Turn on the Retro Bar

Press and hold the red shutter button.
Once the indicator light turns on, the Retro Bar has powered on successfully.
Step 2: Open the Fotorgear app
Download and open the Fotorgear app on your iPhone.
![复古相机手机壳-无字幕横版[00_00_21][20260327-125510].jpg__PID:7c71cdc1-9127-4dd9-b03c-ec5165fa852f](https://cdn.shopify.com/s/files/1/0029/8762/2459/files/00_00_21_20260327-125510.jpg?v=1774595353)
Step 3: Enable Bluetooth
Tap the Settings icon in the top-right corner, then go to Hardware and turn on Use Bluetooth.

Step 4: Confirm the pairing request
A Bluetooth pairing prompt will appear on your iPhone. Tap Pair, Allow, or Confirm, depending on the system message.

Step 5: Finish the connection
Once pairing is complete, your iPhone will show a confirmation that the Retro Bar is connected.

At that point, you’re ready to start shooting.
What the Indicator Light Means
The Retro Bar has two indicator light colors, and each one represents a different shooting mode.

 Green Light: Fotorgear App Mode
A green light means the Retro Bar is connected for use with the Fotorgear app.
In this mode, the app can control shooting parameters, and you can also customize the functions of the four physical buttons on the Retro Bar.
 Red Light: Native iPhone Camera Mode
A red light means the Retro Bar is working with the native iPhone camera.
This mode is ideal if you want a simpler shooting setup using Apple’s built-in camera.
How to Switch Between Green and Red Light Modes
You can switch between the two modes at any time.

To do that:
- Press and hold the shutter button
- At the same time, slide the Dial toward the Knob
- Keep holding for about 3 seconds
After a few seconds, the indicator light will change color. This means the mode has switched successfully.
Why Some Buttons May Not Respond

1.)
If your Retro Bar is in Green light mode but you are using the native iPhone camera, only the shutter button will respond.
The other three buttons will not work in that situation, because those controls are designed to function through the Fotorgear app.
So if you want access to the full customizable control layout, make sure you are using the app while in green light mode.
2.)
If your Retro Bar is in Red light mode, and you are using the native iPhone camera, only the shutter button will respond.
Please follw these guide below the enable the zoom feature in your iPhone setting.

How to Customize the Buttons
One of the most useful features of the Retro Bar is that its four buttons can be customized inside the Fotorgear app when the device is connected.
This gives you more flexibility based on how and where you shoot.

For example, if you’re heading out for an outdoor shoot, assigning the zoom function to the Dial can make shooting much faster and more natural. It allows you to zoom in or out quickly and accurately, especially when capturing moments on the move.

Common Questions About the Retro Bar
Does the Retro Bar come charged?
Yes. Each Retro Bar receives a basic charge before shipping, so it should normally have battery power when it arrives.
Why won’t my Retro Bar connect to my iPhone?
Please check the following:
- The Retro Bar is powered on
- The Fotorgear app is installed
- Use Bluetooth is enabled in Settings > Hardware
- The Bluetooth pairing request on your iPhone has been accepted
In most cases, the connection issue can be solved by checking these steps.
Why are some buttons not working?
If you are in green light mode but using the native iPhone camera, only the shutter button will work.
To use the other buttons, switch to the Fotorgear app.
Can I use one Retro Bar with a different case model?
No. Each Retro Bar is designed specifically for its corresponding iPhone case model and is not interchangeable.
How to charge my Retro Bar?
There a a type-C charging port under the botton of the Retro Bar, use the typc-C chaging cable to change. The indicator light will turns off once the battery is fully charged.

Final Thoughts
The Retro Bar was designed to bring a more physical, camera-like feel to iPhone photography. Once connected properly, it becomes a simple but powerful tool that helps make mobile shooting feel faster, smoother, and more intuitive.
If you're just getting started, the best workflow is simple:
power it on, connect it in the Fotorgear app, choose the shooting mode that fits your style, and customize the buttons to match the way you shoot.
That’s when the Retro Photography Kit really starts to feel like part of your creative process.